The Military Press, also known as the shoulder press, is the undisputed king for building strong, broad and functional shoulders. However, it is also one of the exercises where most mistakes are made, often due to lack of knowledge about proper technique.
For me, with two herniated discs, I have had to learn the hard way that poor execution not only limits gains, but can be a one-way ticket to the physiotherapist’s office. Therefore, I have analyzed this exercise in detail to find the formula that will allow you to progress without injury and by applying the Bilbo method to the Military to the Military Press.
Although the military press may appear to be a simple vertical pushing exercise, it is a compound movement that requires the coordination of several muscle groups.
The main muscle that takes center stage in the military press is the anterior deltoid, the front part of the shoulder. It is responsible for initiating the pushing movement. To a lesser extent, the middle portion of the deltoid is also activated to stabilize the weight and contribute to the lift. The key is to feel the engorgement in this area. As I like to say, if you don’t feel it here, something is wrong.
The triceps is a crucial secondary muscle, especially in the second half of the stroke, when it is responsible for fully extending the arm. The trapezius and back stabilizer muscles also play a key role, keeping the body upright and allowing the weight to move in a straight line. Last but not least, the abdominal and lumbar area (the core) contracts to form a solid block, protecting the spine from injury. This connection is vital; in my case, with my hernias, I have found that if the knees are not slightly bent and the body forms a block, the lower back suffers.
Good technique is what separates a lifter from a simple weight pusher. Pay attention to these key points.
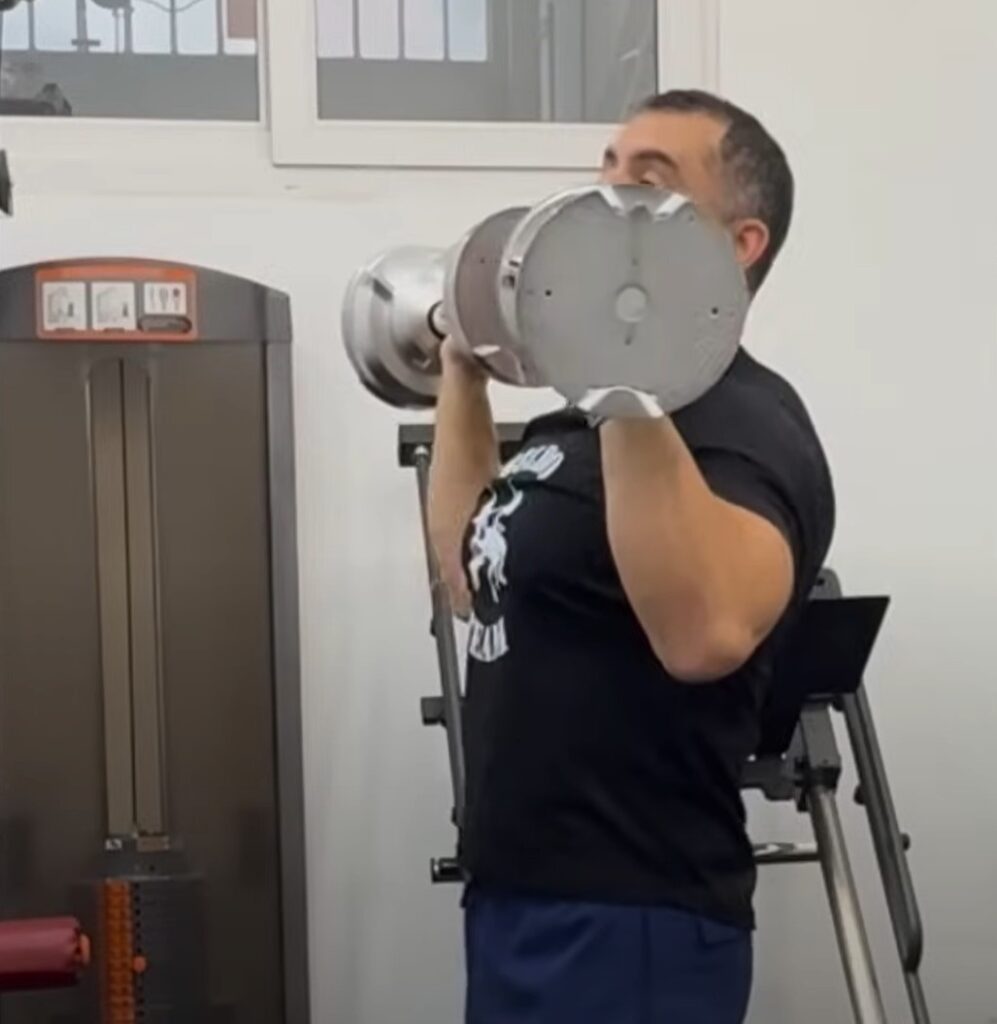
Push the bar up in a straight line. Think that the bar must describe a vertical trajectory, as if it were going up an imaginary rail. To achieve this, as you bring the weight up, your head is pulled back a little so that the bar frees it, and once it has passed, you bring it forward again so that the weight is aligned over your head, wrists and shoulders. It is a fluid and controlled movement.
Lower the bar slowly and in a controlled manner to the starting position. Avoid letting gravity do all the work. Controlling the eccentric phase (the lowering) is as important as the pushing to gain strength and avoid injury.
These are the most common mistakes, which I have had to correct in my own training in order to continue progressing.
This is the mistake I fear the most. If you lift a weight that is too much for you, it is very easy for the lower back to arch to compensate. This puts immense pressure on the vertebrae and discs, a direct shortcut to injury. If you feel your back arching, it’s best to lower your weight, review your technique and work on strengthening your core. Remember, the bend should come from the knees, not the lower back.
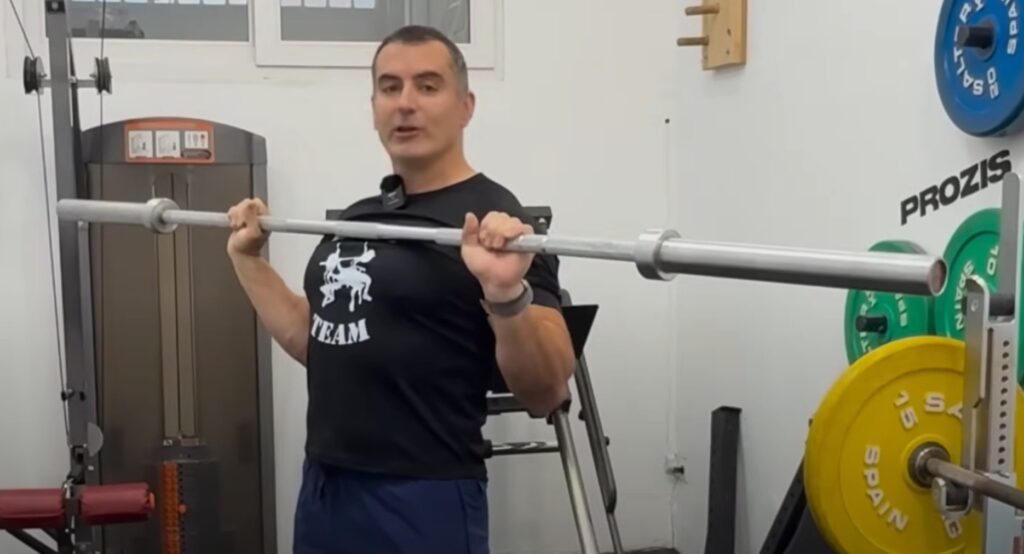
A grip that is too wide forces the shoulder joint and a grip that is too tight forces the elbows forward, affecting the wrists and elbows. Neither approach is optimal for joint health. It’s best to experiment and find the point where your forearm and wrist stay in a straight line.
This is a mistake that, in my case, has brought me many shoulder problems. At the end of the movement, once the bar is up, it is a very common mistake to get “under” the bar, making the weight rest directly on the shoulder joints and not on the muscle. All this does is overload the rotator cuff. The shoulder works during the push, not in the rest position.
The choice between barbell and dumbbells depends on your goals and experience.
| Feature | Military barbell press | Military press with dumbbells |
|---|---|---|
| Stability | Greater stability, the bar guides the movement | Less stability, requires more core control |
| Maximum load | Allows to move more weight | Limited by the individual strength of each arm |
| Tour | More fixed and straight | Increased freedom of movement and joint range |
| Joint risk | Can strain shoulders if grip is incorrect | Less stiff, but risk of rotator cuffing if worn too far back |
| Variants | Mainly standing or sitting | Sitting, inclined, neutral, alternating, unilateral |
| Approach | Ideal for deltoid strength and volume | Ideal for muscle balance and correction of decompensations. |
| Recommended for | Progression of loads and global shoulder development | Adjust tension, avoid pain and gain mobility |
Here are two practical tips to maximize your results and, above all, to avoid injury.
Before jumping in with max weight, I recommend doing what I call a “Bilbo Set”. It’s a first warm-up Set with a very low weight. The goal is not to lift a lot, but to feel the muscle. At this point, I like to control the stroke and slow down the repetition muscularly, without the weight resting on the joints at any time. This first Set is for you to connect, warm up and make sure everything is in place before you really get started.
For beginners, 2-3 Sets of 8-12 repetitions are a good way to start. If you are a more experienced lifter, you can increase the weight, reduce the reps and do 3-4 Sets.
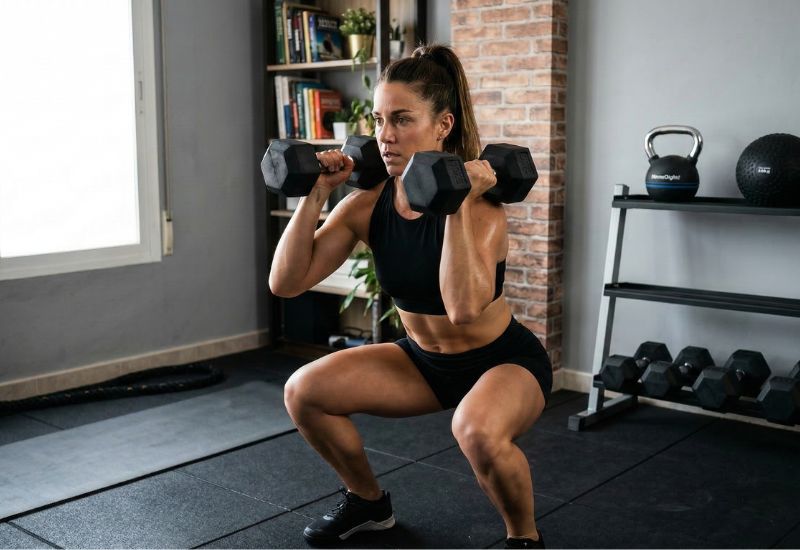
Is it better to do military press standing or seated? Standing, the exercise is more functional and works the whole body more completely, as the core and legs act as stabilizers. If you have back problems or find it difficult to maintain stability, the seated variant is an excellent option.
Does the military press damage the shoulders? If the technique is incorrect, yes. Mistakes such as a tight grip, lack of control in the movement and excess weight are the main culprits. With proper technique and a correct warm-up, it is a safe and very beneficial exercise. I recommend applying the Bilbo method to improve the Military Press.
What muscles does the military press work?
Mainly the deltoids, although the trapezius, triceps and core are also involved.
Is it better with barbell or dumbbells?
Depends on the goal. The barbell allows for greater load and stability; dumbbells offer free range and more natural adjustments.
Can I do it if I have back pain?
Yes, but with adaptations: knees semi-flexed, core activated and avoiding lumbar arching. In cases of hernia or serious injury, consult a specialist.
The military press is a staple of shoulder training, but technique is everything. Adjusting the grip, keeping knees semi-flexed and respecting a controlled path makes the difference between a safe and an injurious exercise.
In my case, these corrections were the key to continuing to train after my injuries. If you want to strengthen your shoulders without compromising your health, spend time on technique before thinking about lifting more weight. The Bilbo method is perfect for improving your military press.
Take your Military Press to the next level
Apply these techniques, avoid injury and feel the real progression in your shoulders. Start your training today with the Bilbo Method and transform your routines into visible results.
Discover our guided trainings and start now

Expert in strength training and physical tests for civil service candidates. With over 30 years of experience and multiple national and European records, he shares his methods to improve strength, endurance, and performance safely.